Join
Waitlist
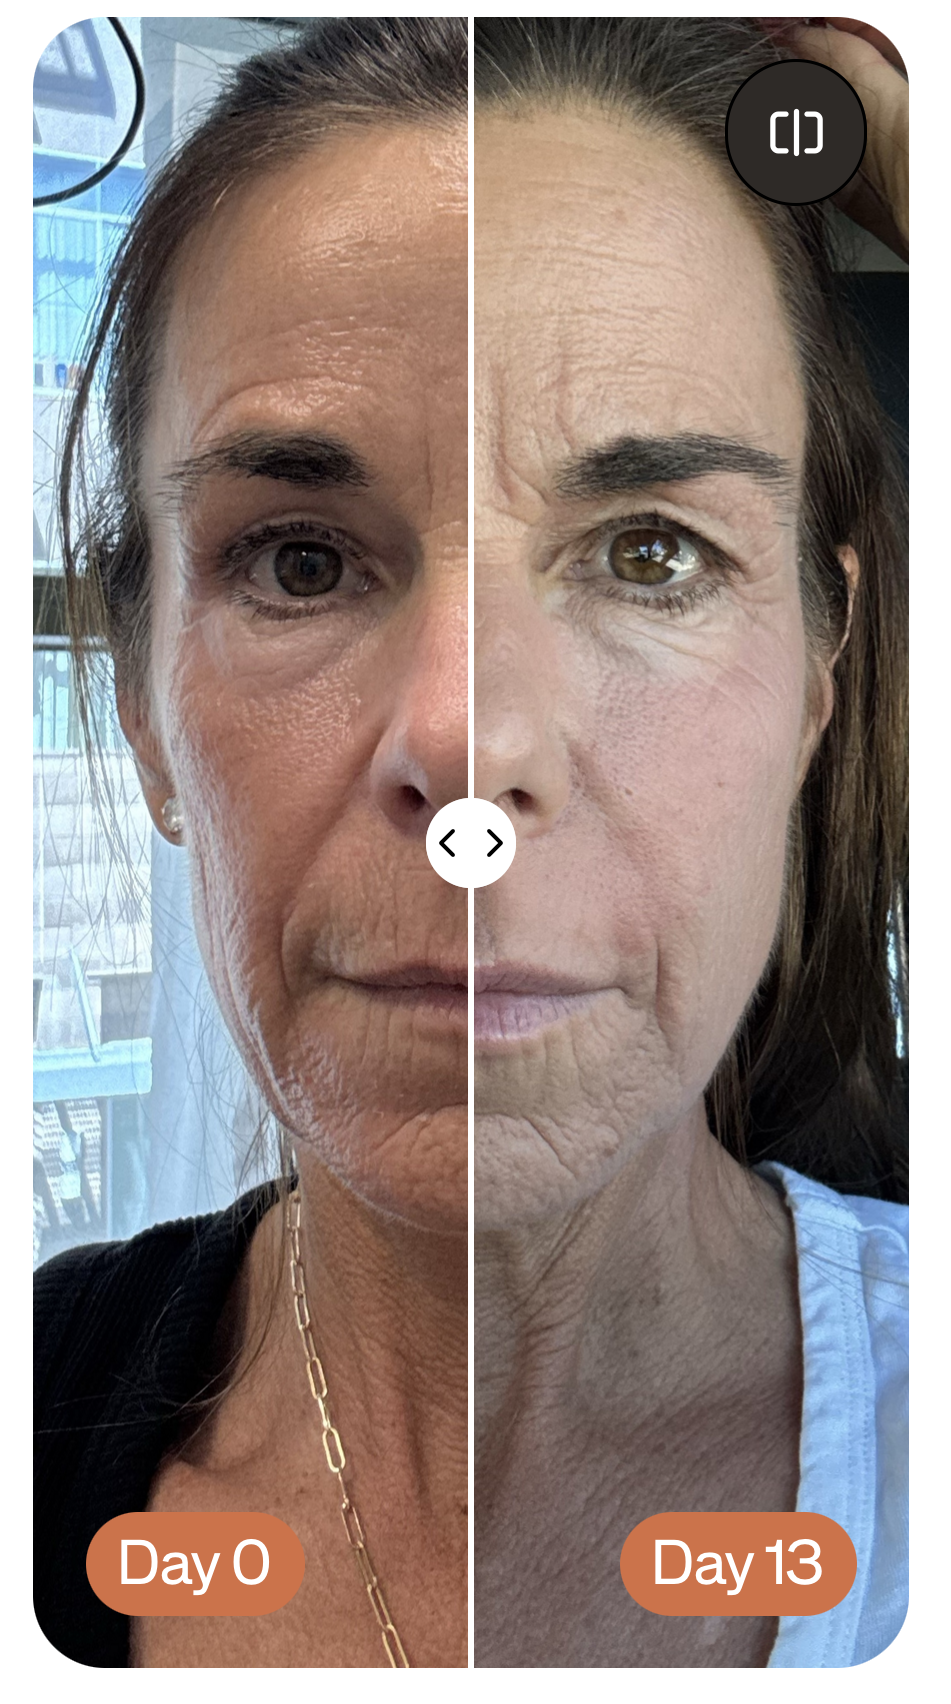
When you invest in your skin, changes can be subtle at first but transformative over time. That’s why tracking progress photos along the way is a smart move to see your results over time. Done right, they give you proof, not just perception, of your skin’s evolution.
The goal isn’t to take the most flattering picture, it’s to take the most honest one that shows true tone, texture, and changes.
Our clinical expert advisors share their tips for taking before and after photos.
Keep conditions the same for every photo.
Progress photos are only truly useful when you’re comparing like with like. That means keeping variables the same: location, lighting, camera height, and time of day.
Whatever you do, do it the same way every time. Consistency removes distractions and lets you focus only on skin changes, not on differences in setup.
Natural light over artificial light.
A soft, diffused natural light is the gold standard – think morning or late afternoon, standing a few feet from a window.
If natural light isn’t possible, a ring light or a consistent artificial light source will do the trick. Just keep the brightness, position, and bulb type identical each time.
Whether natural or artificial, always face your light source to avoid casting shadows across your face.
Avoid harsh midday sunlight that washes out detail, overhead lighting that casts shadows, or uneven light that brightens one side of your face more than the other.
Bare skin is best.
Don’t mask subtle results. Small changes can signal meaningful progress with your skincare and treatments. For the clearest view of your skin:
Keep a neutral expression.
No smiling or lifting your eyebrows. Facial expressions shift the position of our skin and features, making results harder to compare. Look straight into the camera, relax your jaw, and avoid smiling or frowning. This keeps each shot as consistent as possible.
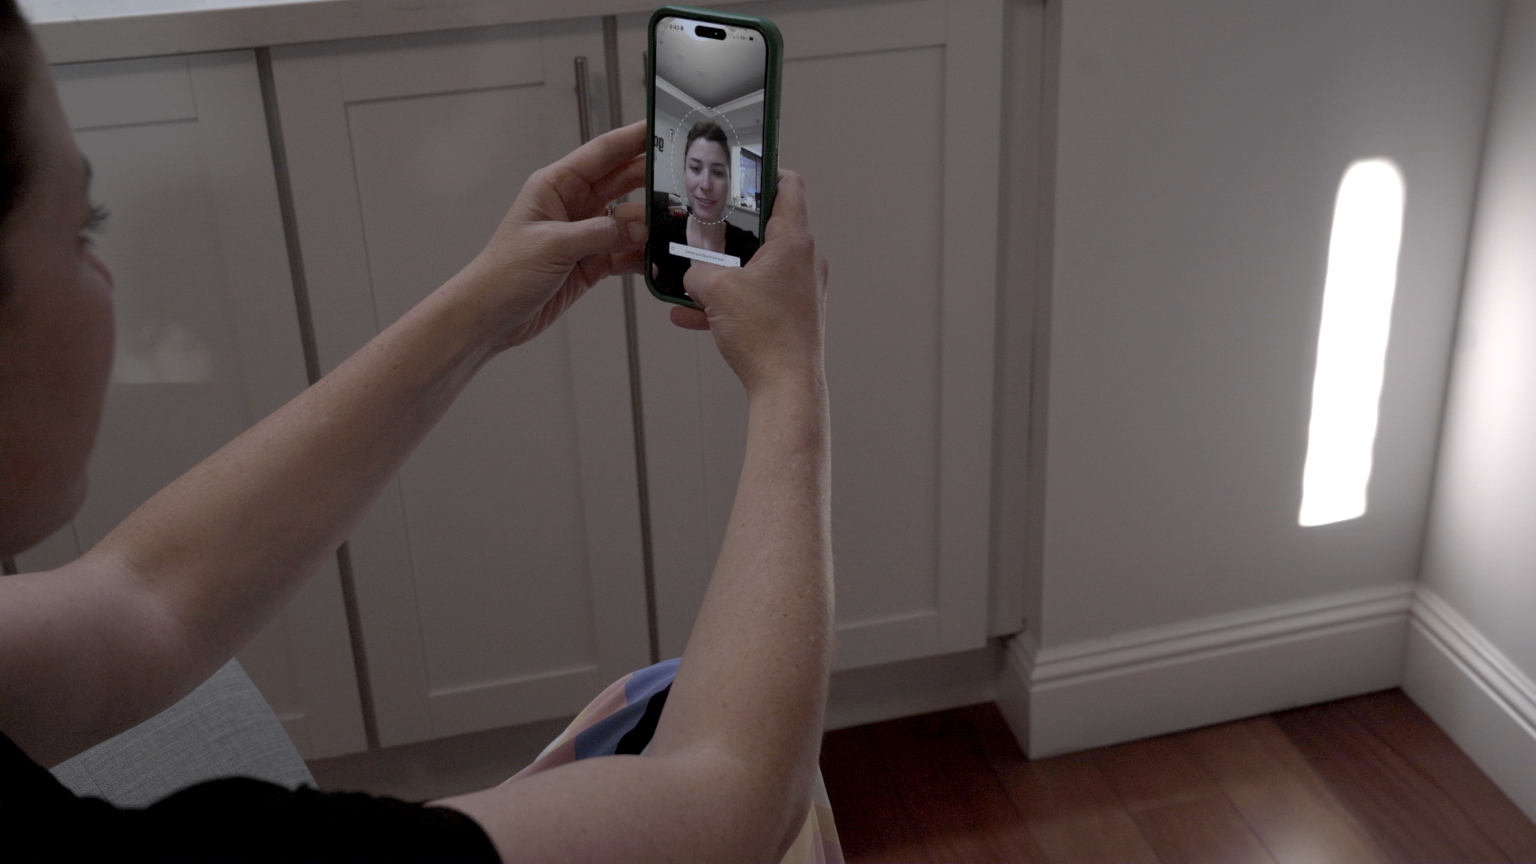
Eye-level, every time.
Keep your phone at eye level and hold it straight on – never tilted up or down. This keeps your facial features proportionate and makes side-by-side comparisons easier later.
Pro tip: Use a tripod or rest your phone on a stable surface. Mark a spot on the floor where you stand so distance and framing stay the same each time.
GlowGuide Takeaway:
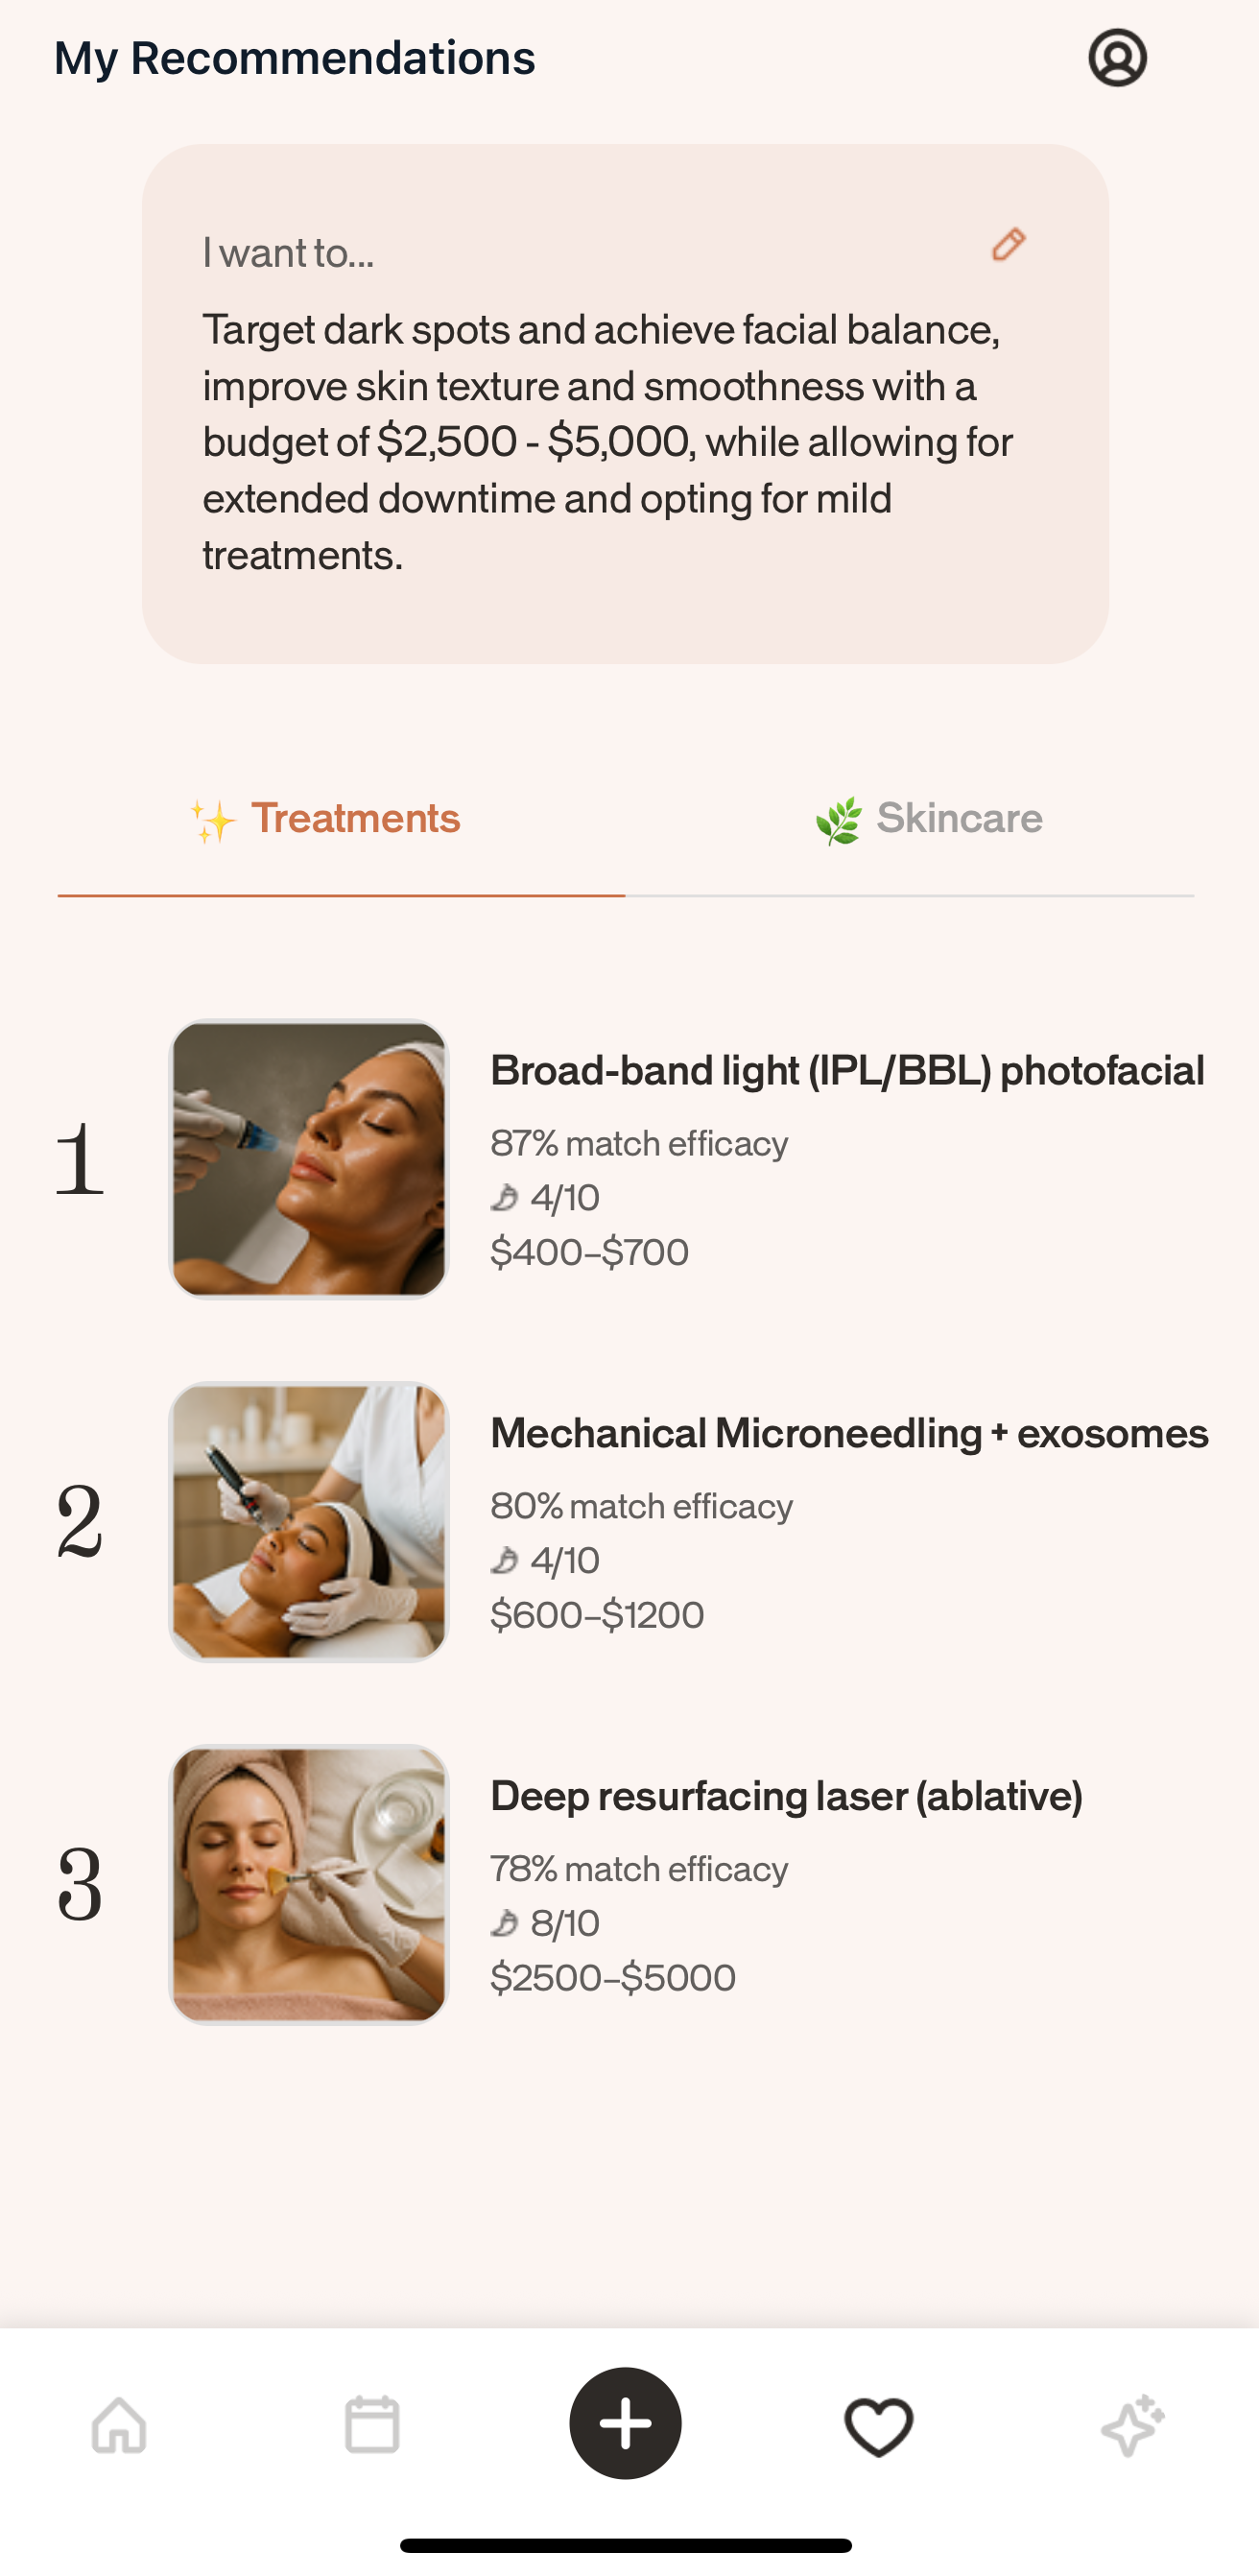
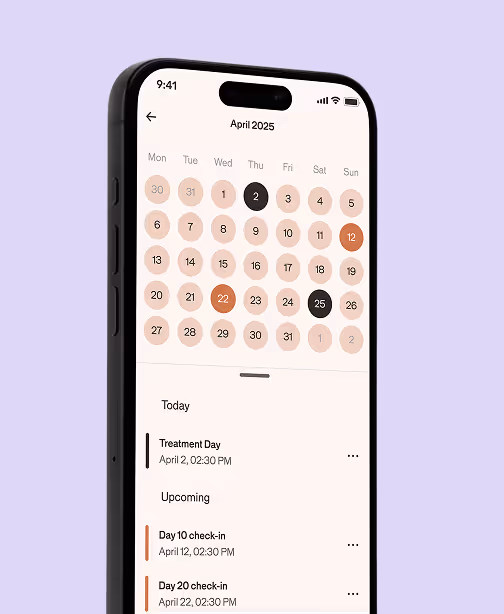
Gone are the days of having before and after photos buried in your phone’s photo library or only available at your provider’s office. GlowGuide was built to help you capture your photos in one secure, organized place, where you can track your progress over time and make informed decisions about what’s working for you.