Get THE APP
In an overwhelmingly crowded sea of med spas, influencers and viral before-and-after posts, there’s a very common claim: the "no downtime" pinky promise. Why, it seems like magic! You can get lasered, injected, or peeled and then immediately grab brunch with your friends like nothing happened except for your miraculously smooth, glowing, and definitely not at all red complexion.
But, and you probably know where this is going, if it seems too good to be true, it’s usually the TikTok beauty filter. Here's the truth: even the so-called "lunchtime procedures" aren't always as walk-in-walk-out as they seem. And that's not a bad thing! Understanding what realistic recovery actually looks like helps you plan better, set real expectations, and, most importantly, get the results you're paying for without the panic of showing up to work looking like you went three rounds with a sunburn.
So let's break down what you can actually expect from the most popular in-office treatments, when you should schedule them, and how to plan your life around your downtime (not the other way around).
These are your true "get it and get on with it" procedures. You'll see some minor evidence that something happened, but nothing that'll make you want to hide at home for days.
Neurotoxins (Botox, Dysport, Xeomin, Jeuveau, Letybo)
The immediate return to "normal" activities. This is about as close as you'll get to a true lunchtime treatment. You can walk out and go about your day, with some important caveats.
What to avoid:
GlowGuide tip: Our physician-informed Aesthetic Intelligence™ is at your fingertips, ready to guide you through the process and answer any questions about what you can and can’t do and when (like when you wake up with anxiety at 2am because you can’t remember if your morning Solidcore class is too soon after your treatment. Ask us how we know).
What to expect:
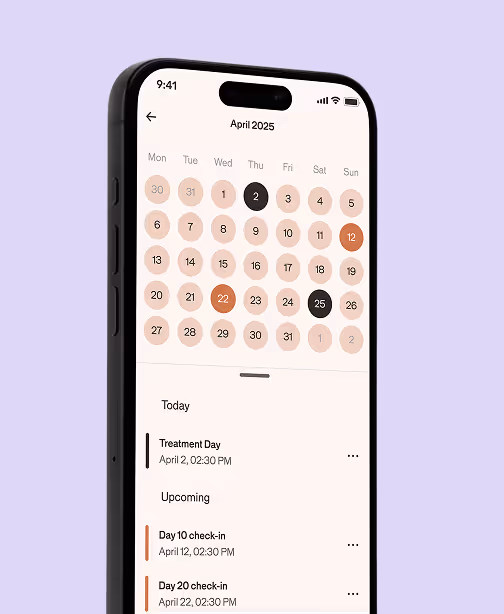
GlowGuide tip: Track your treatment in the app: Snap a photo right after your appointment, then document when you start seeing results kick in. This helps you understand your personal timeline and plan better for your next round.
Best scheduled: Any weekday works if you can skip the gym that evening. Just make sure you don't have hot yoga or Barry's Bootcamp on the agenda.
Microneedling (Traditional)
This one has a bit more visible evidence that you did something, but it's manageable.
What to avoid:
What to expect:
GlowGuide tip: Log your microneedling session in the app and track your peeling timeline. Over multiple sessions, you'll start to see patterns in your healing and can plan accordingly. The photo tracking feature is especially helpful here; watching your texture improve over time is so satisfying.
Best scheduled: Thursday afternoon so you can be mostly pink-free by Monday. Keep your weekend plans low-key.
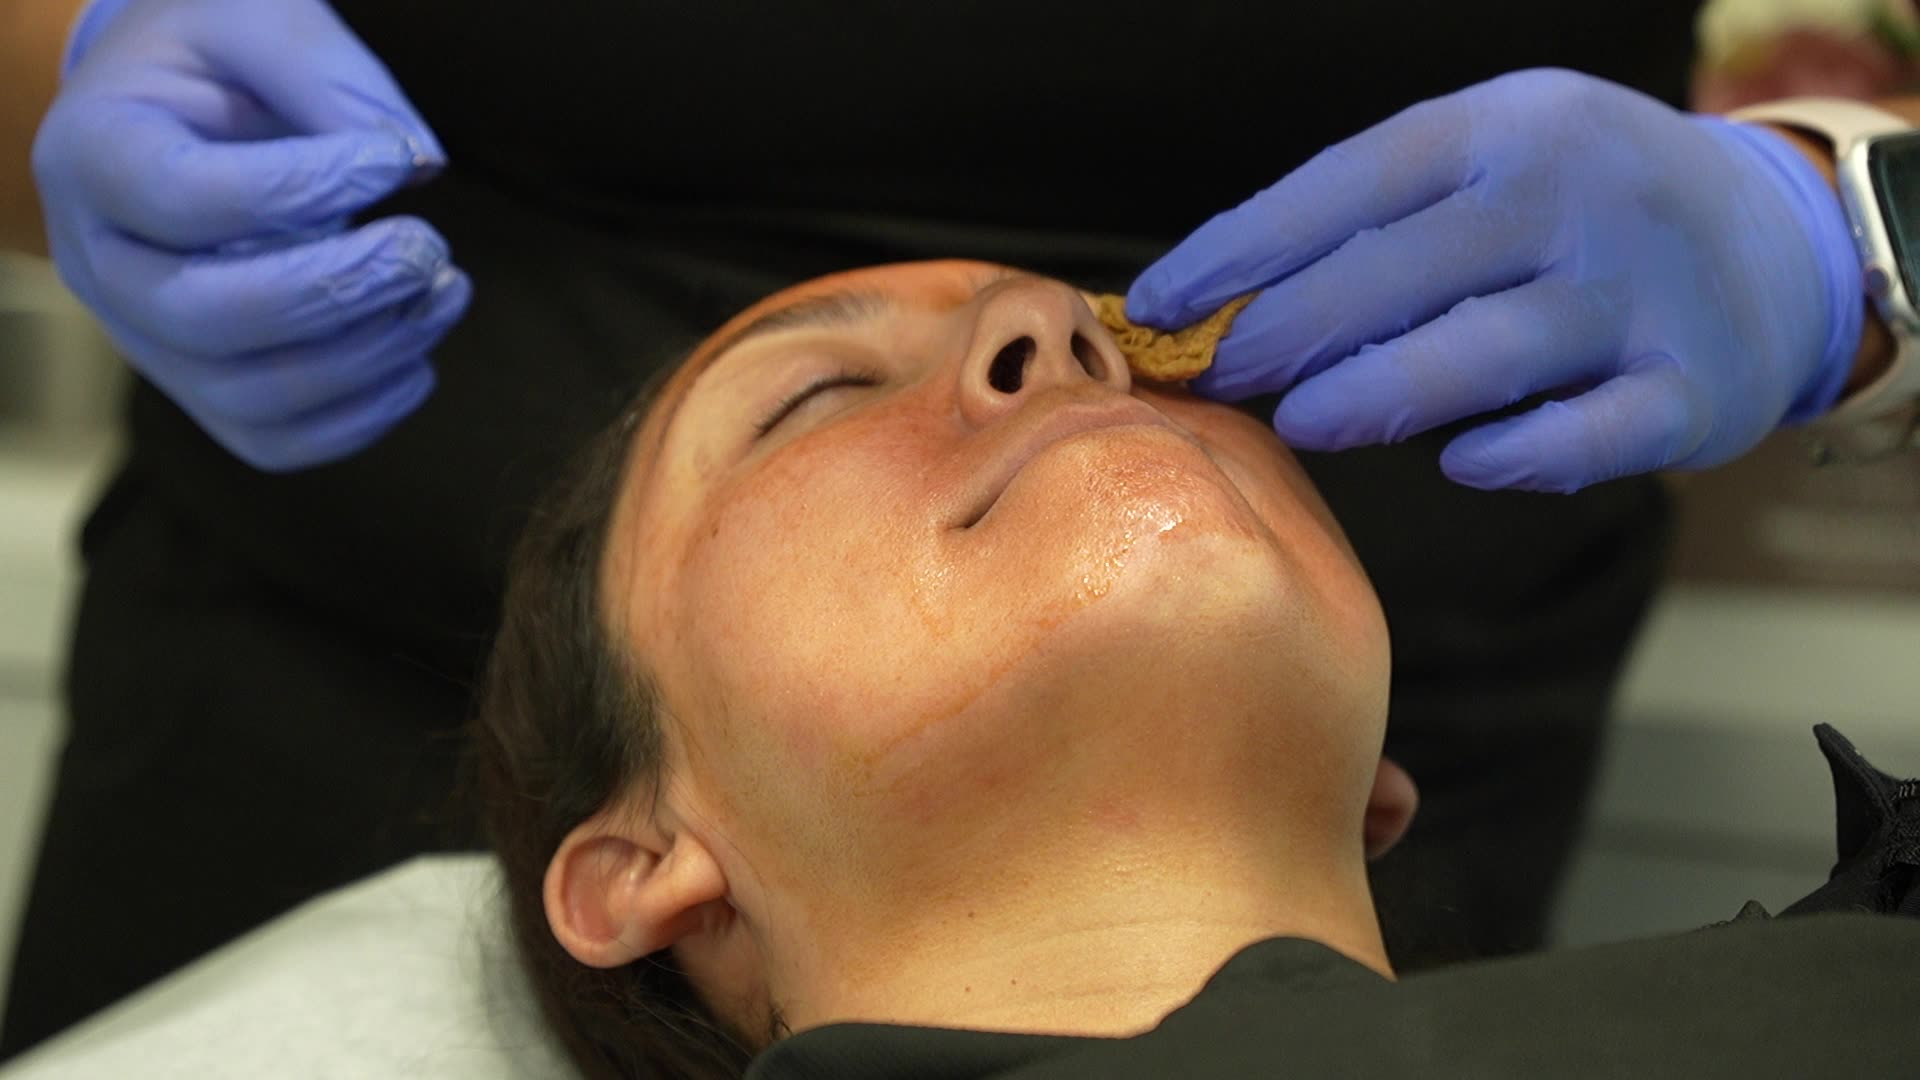
Light Chemical Peels (Superficial)
These include peels with glycolic acid, lactic acid, salicylic acid, or mandelic acid; basically anything targeting the very top layers of your skin.
What to avoid:
What to expect:
GlowGuide tip: A superficial peel is often done as a series (think 4-6 treatments spaced a few weeks apart), so tracking each one in GlowGuide helps you see cumulative results.
Best scheduled: Friday for a low-key weekend. You'll look fine at home or running errands, but probably won't want to be in harsh office lighting during peak flake days.
This is where things get a bit more serious. You're investing in real results, and your face is going to show it (temporarily). These moderate downtime treatments require some strategic calendar Tetris.
RF Microneedling
RF microneedling, like Profound or Potenza, combines traditional microneedling with radiofrequency energy, which means you're creating deeper injury and stimulating more dramatic collagen production. In other words, more downtime than regular microneedling.
What to avoid:
What to expect:
GlowGuide tip: RF microneedling is a commitment, and the results take months to fully develop as collagen rebuilds. Use GlowGuide to track your immediate healing, then take monthly progress photos to watch the long-term improvements unfold. It's easy to forget what you looked like before when results are gradual.
Best scheduled: Wednesday or Thursday before a long weekend. You want 4-5 solid days where you don't have to be seen in public or on video calls.
Medium Chemical Peels
Medium peels, like 20-35% TCA peels, go deeper than superficial ones, which means more dramatic results, and more dramatic peeling.
What to avoid:
What to expect:
GlowGuide tip: Document this journey. Seriously. The transformation from "oh god what have I done" to "holy moly my skin looks amazing" is wild, and you'll want the photo evidence. GlowGuide's timeline tracking is perfect for this. You can see exactly when the peeling started, peaked, and finished, which helps you plan for next time.
Best scheduled: Plan for a solid week at home. Work from home? Great. Have back-to-back Zoom calls? Definitely camera off. This is a "hide and heal" situation.
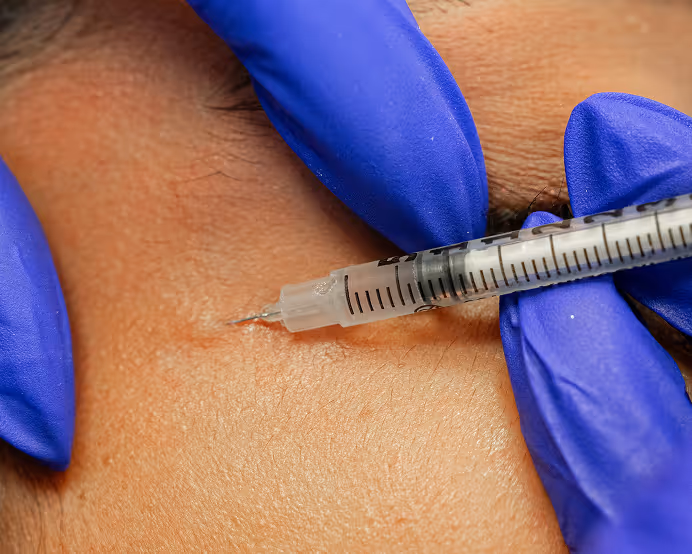
Fillers (Depending on the Area)
Filler downtime varies wildly depending on where you're getting injected. Lips? Expect to look like you had a very enthusiastic makeout session with a bee. Cheeks? Usually more subtle.
What to avoid:
What to expect:
GlowGuide tip: Take a photo immediately after your appointment, then daily photos for the first week to track swelling. When it comes time for touch-ups or maintenance, you'll have a clear record of your healing timeline and can plan accordingly.
Best scheduled: At least 2 weeks before any big events. Do not, and we repeat, do not, get lip filler the week before your wedding. It never goes as planned.
Biostimulators
Biostimulators, like Sculptra and Radiesse, are different from traditional fillers; they stimulate your skin to produce its own collagen over time rather than adding immediate volume.
What to avoid:
What to expect:
GlowGuide tip: Since biostimulators work gradually, progress photos are your jam. GlowGuide's timeline feature lets you track your initial swelling, document your massage routine, and then watch your results develop over the following months. This is especially helpful if you're doing multiple sessions.
Best scheduled: Thursday or Friday works great. The initial swelling is manageable, and you'll be fine by the weekend.
These are the big guns. Significant downtime The treatments that make you question your life choices around day 4, then make you want to kiss your provider around day 30. They require serious commitment and serious privacy.
Deep Chemical Peels
Deep peels, like phenol and 50%+ TCA, are not for the faint of heart. They're also not commonly done anymore because ablative lasers can achieve similar results with potentially less risk. But some practitioners still offer them for severe photoaging or deep wrinkles.
What to avoid:
What to expect:
GlowGuide tip: Track this entire process in excruciating detail. Your daily photos will look like you’ve spent the last 8 hours at the hands of the best special-effects makeup artist, but they're incredibly valuable for understanding the timeline and for showing future you (or anyone considering this treatment) what the reality looks like. Also, log any pain, tightness, or concerns so you can discuss them with your provider if anything seems off.
Best scheduled: Plan for 2 weeks completely off-grid. No social obligations, no video calls, no in-person meetings. Tell everyone you have COVID or are out of town. Just hide.
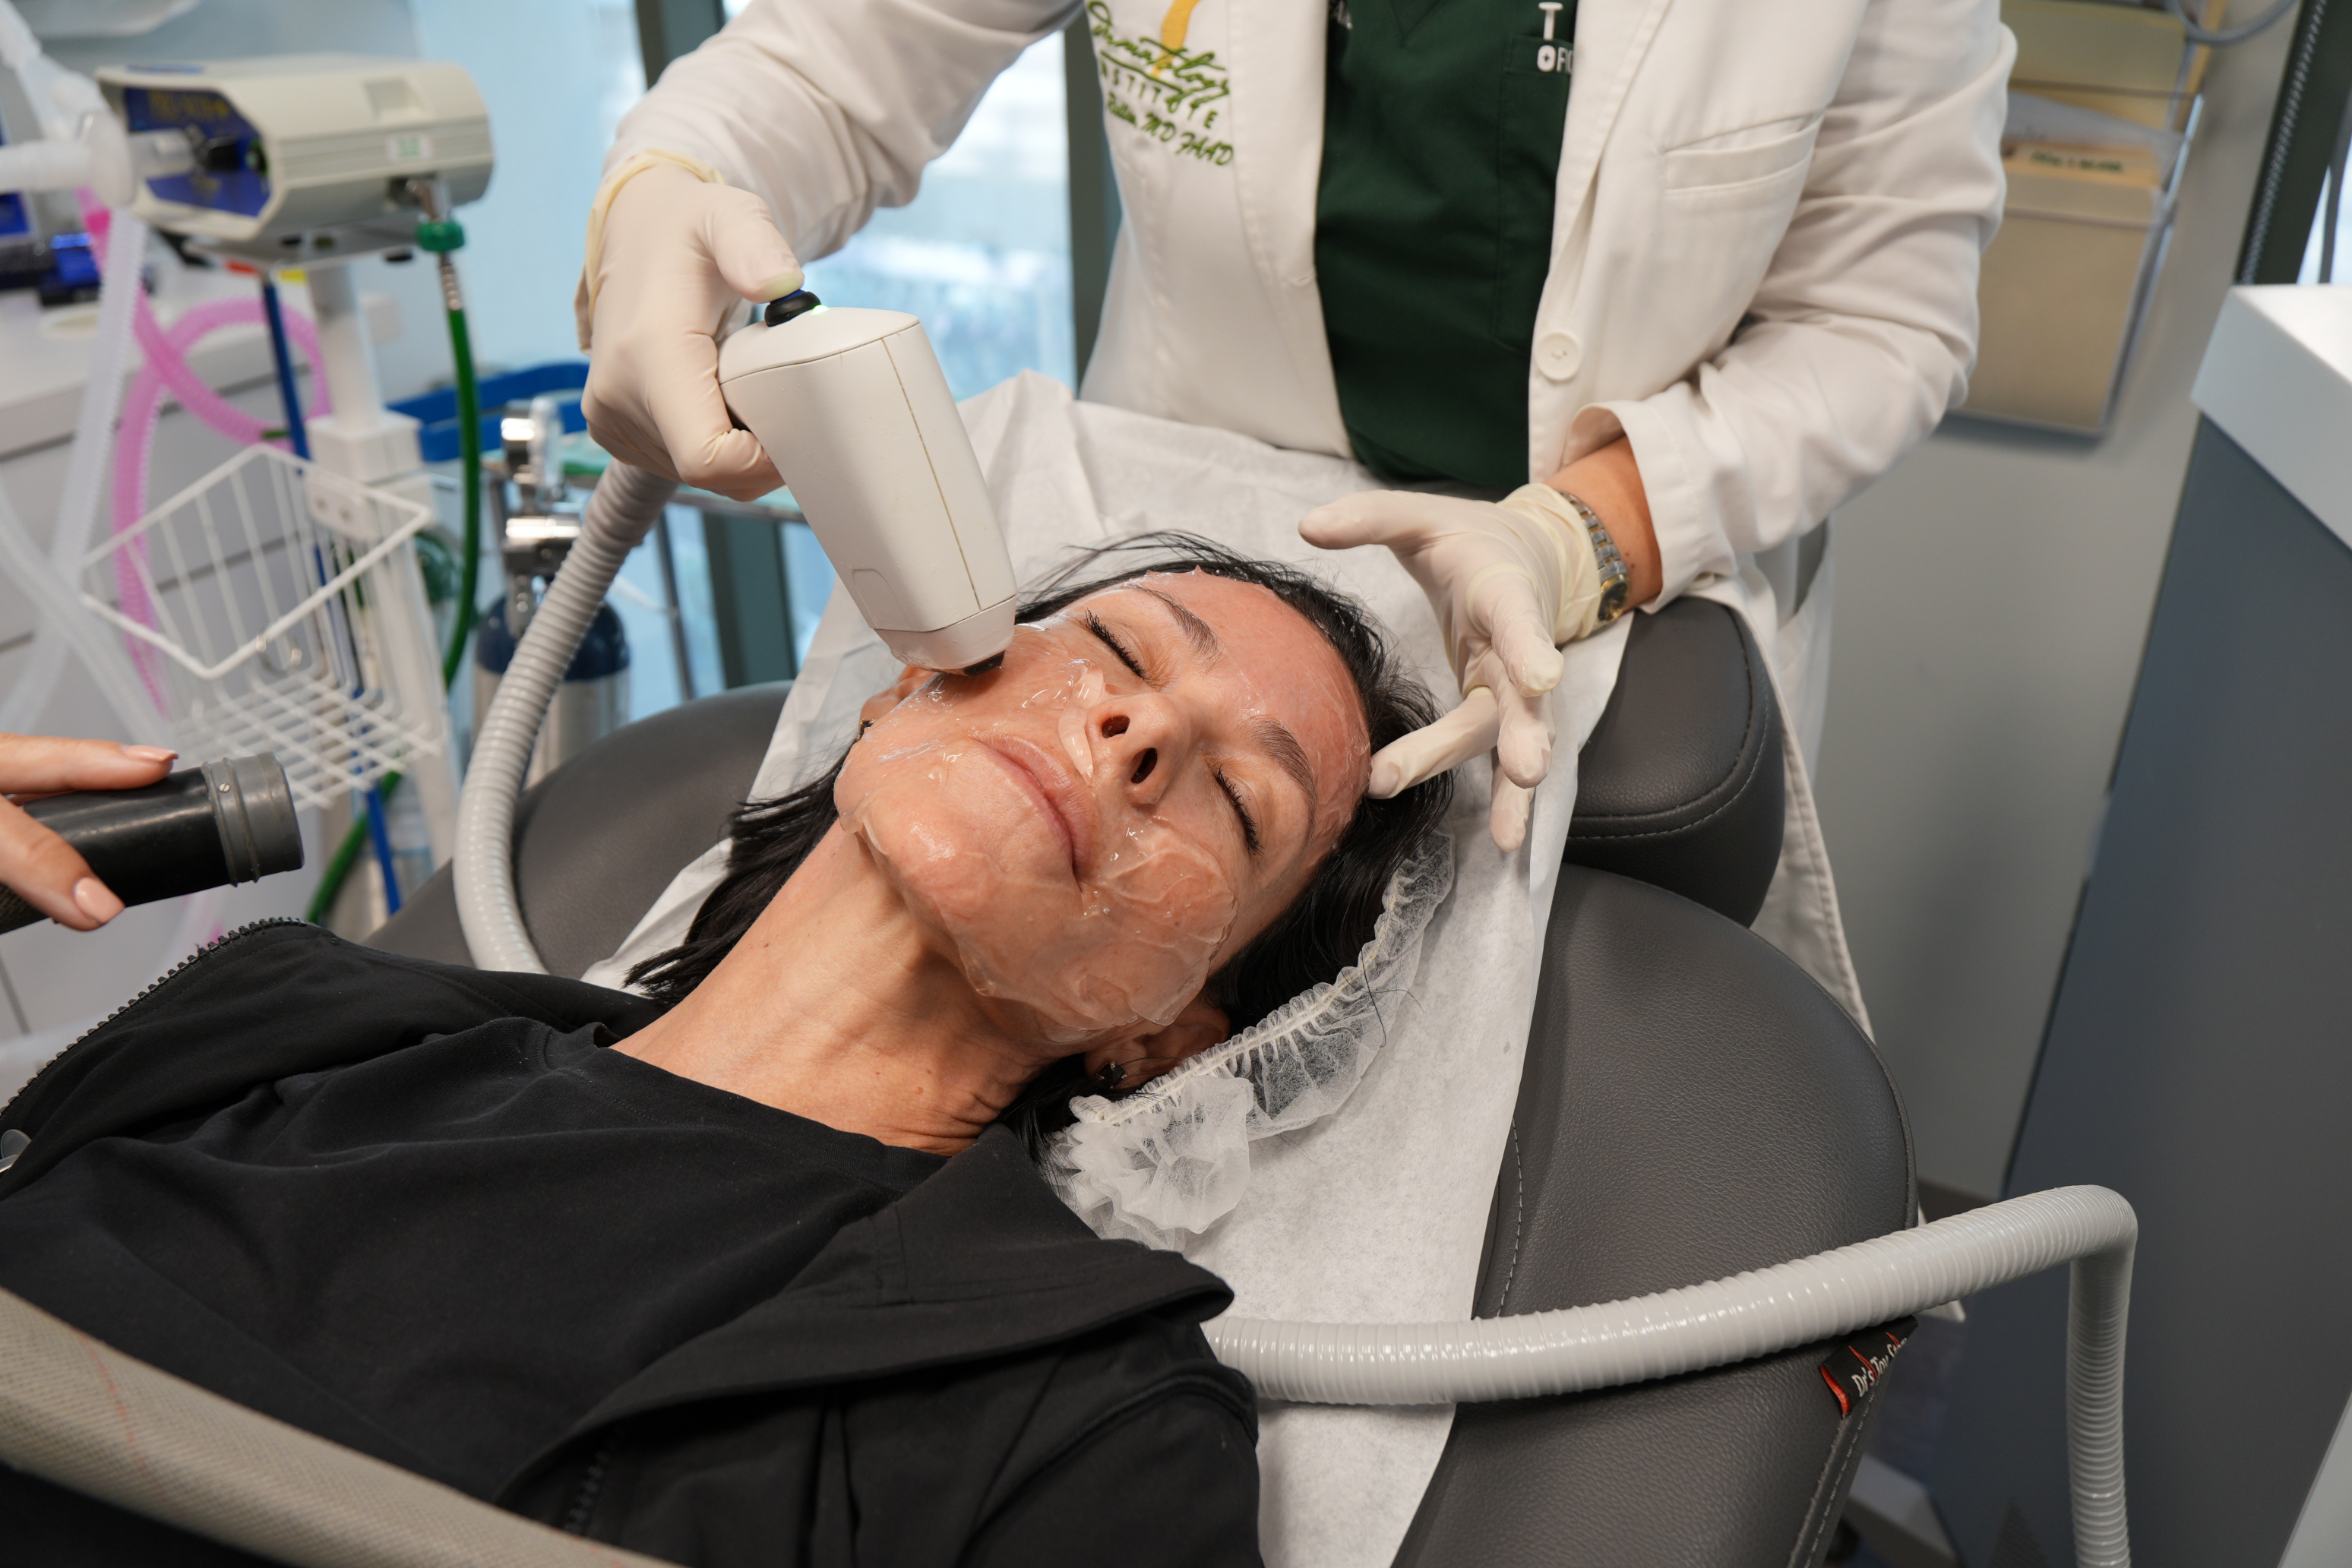
Aggressive CO2 Laser Resurfacing
CO2 lasers vaporize the outer layers of your skin to treat wrinkles, scars, and sun damage. The results can be incredible. The downtime is not for the faint of heart.
What to avoid:
What to expect:
GlowGuide tip: This is another treatment where documentation is everything. The transformation is dramatic, but it takes time. Use GlowGuide to track your daily healing, note any concerns (increased redness, unexpected swelling, etc.), and monitor your long-term results. The before/after comparison at 3+ months out will be worth the nightmare healing phase.
Best scheduled: Just hide. Seriously. Plan for at least 3 weeks before you need to be seen publicly. Work from home if possible, or take vacation time.
Here's what nobody talks about: your downtime might not match your friend's downtime, or the Instagram influencer's downtime, or even the timeline your injector quoted you.
Your Mileage May Vary: Factors That Affect Your Downtime
Skin type: Darker skin tones tend to have longer inflammation and a higher risk of post-inflammatory hyperpigmentation (PIH). If you have melanin-rich skin, your downtime might be longer than the "typical" timeline.
Treatment intensity: Your provider can often adjust the intensity of lasers, peels, or RF microneedling. More aggressive = better results but longer downtime. Always ask about intensity options.
Provider technique: An experienced, skilled injector or laser technician will minimize trauma to your skin, which can reduce downtime. This is not the time to cheap out or go to someone fresh out of training.
Your healing response: Some people heal fast. Some people swell dramatically. Some people bruise if you look at them wrong. You won't know your personal response until you try a treatment, which is why tracking everything in GlowGuide is so valuable.
"Social Downtime" vs. "Physical Downtime"
Physical downtime = when you physically can't do something (work out, apply makeup, go in the sun).
Social downtime = when you can physically do things, but you look weird enough that you'd rather not be seen.
For example, after Botox, your physical downtime is minimal (just avoid lying down and working out for a bit). But if you bruise, your social downtime might be 3-5 days.
GlowGuide tip: When you're tracking a treatment, note both your physical recovery (when you could technically resume activities) and your social recovery (when you actually felt comfortable being seen). This helps you plan more accurately next time.
Bruising is the wild card of injectables. Some people never bruise. Some people look like they went three rounds in a boxing ring. Here's how to minimize your risk.
Before your appointment:
After your appointment:
Why do we keep saying "mineral makeup only"?
When your skin barrier is compromised (which it is after most aesthetic treatments), you want to avoid ingredients that could irritate or cause reactions. Mineral makeup (containing zinc oxide and titanium dioxide) sits on top of the skin rather than being absorbed, making it safer for healing skin. It also typically contains fewer potential irritants.
Traditional makeup often contains fragrances, preservatives, potentially pore-clogging oils that can clog pores, or chemical SPF that can be irritating.
Sun Avoidance Is Non-Negotiable.
We’re going to say this loud for the people in the back: YOU CANNOT SKIP SUN PROTECTION AFTER AESTHETIC TREATMENTS
Post-treatment skin is more vulnerable to UV damage, more likely to develop hyperpigmentation, more likely to scar, and more prone to premature aging (ironic, right?). So invest in a good mineral SPF 30+ and reapply every 2 hours.
You can make things easier on yourself by planning for this. Schedule treatments in the fall and winter, work from home during peak healing, wear a wide-brimmed hat if you have to go outside (call it your Jackie O era), and skip the outdoor activities during peak healing.
General timelines are super helpful, but seeing it in actual life examples clicks different.
"I have a wedding in 6 weeks". The plan:
What NOT to do:
GlowGuide tip: Create a plan in the app. Track your treatments; having a visual timeline prevents panic-booking something too close to the event.
"I work from home but have Zoom calls"
Does this matter for scheduling? Yes and no. You have more flexibility than someone who has to show up to an office, but you're still on camera.
Minimal downtime treatments like Botox, light peels, microneedling should be scheduled on Thursday or Friday. By Monday, you'll look fine on Zoom with good lighting and maybe some strategic camera angles.
For moderate downtime treatments like RF microneedling, medium peels, and filler, you'll need to either keep the camera off for a few days, schedule around a long weekend or use vacation days, or use excellent lighting and strategic camera angles (ring lights are your friend here).
For significant downtime treatments like CO2 or deep peels), you'll need to actually take time off (like 7-10 days minimum), or have a very lenient on-camera meeting policy.
Pro tip: Position your camera slightly above eye level and invest in a ring light to minimize the appearance of redness, swelling, and peeling on video.
"I have limited PTO"
Maximizing long weekends. Book RF microneedling, medium peels, or filler on the Thursday before holidays like Veterans Day, Thanksgiving (if you’re not traveling), MLK Day, or Presidents Day. You’ll get 4 days off to heal and then return to work looking refreshed (but not obviously "done"). Christmas and New Year's are ideal for aggressive treatments like CO2 or deep peels if you have a week or two off and most people look tired and blotchy during the holidays anyway, so you blend in.
What NOT to do:
"I want to look refreshed for summer/holidays"
Let's say you want to look amazing for a July beach vacation. Since many treatments take 2-3 months to show full results as collagen rebuilds, you need some buffer time in case healing takes longer than expected, AND you want to be fully healed before sun exposure, here's your timeline:
March: Start planning and consultations if you haven't already.
April: A good time to start treatments that need multiple sessions like microneedling, light peels, and biostimulators.
May: This is your window for moderate treatments like RF microneedling, medium peels
June: Light, non-aggressive treatments only (facials, LED, maybe a superficial peel early in the month).
July (vacation): No new treatments, just maintenance and sunscreen.
GlowGuide tip: When you have a target date (wedding, vacation, reunion), input it in the app and work backward to create your treatment plan. The app can help you map out an ideal timeline based on the treatments you're considering.
Here's what we want you to remember: downtime is part of the process. Yes, it can be annoying. Yes, it requires patience. But it’s also proof your treatment is working. Your skin needs time to heal, regenerate, and rebuild collagen. Rushing that process won’t get you better results faster; it just increases your risk of complications and less-than-great outcomes.
Being honest with your provider about your schedule, your lifestyle, and your tolerance for downtime sets you up for success. If you only have 3 days to hide but you're considering a treatment that needs 7, either find more time or choose a different treatment. There's no shame in working within your constraints.
And when in doubt? Add buffer time. Always. If your injector says 3-5 days of redness, plan for 7. If they say you can wear makeup after 24 hours, wait until 48 just to be safe. Your skin (and your stress levels) will thank you.
GlowGuide makes this entire process easier. Track your treatments, document your healing with photos, and build a library of your personal response to different procedures. Over time, you'll know exactly how your skin behaves, how long you need to heal, and when to schedule your next treatment. No more guessing, no more surprises, no more showing up to important events looking like you had a fistfight with a laser.
Ready to take the guesswork out of your aesthetic treatment journey? Download GlowGuide and start tracking your treatments like a pro.
Your face is an investment. Treat the planning process like one too.